
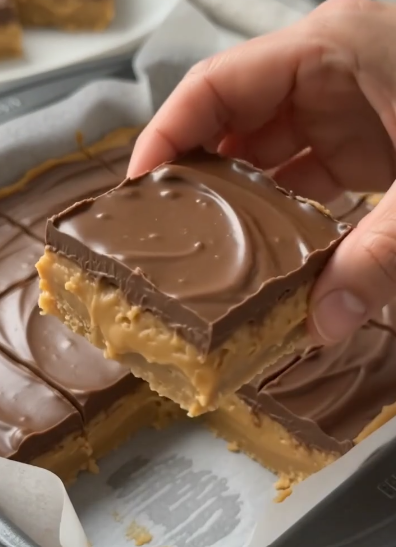
When you crave the iconic combination of rich chocolate and salty-sweet peanut butter but don’t want to turn on the oven, these no-bake bars are the absolute perfect solution. As you can see in image_531547.jpg, they feature a thick, fudge-like peanut butter base topped with a smooth, glossy layer of milk chocolate. They taste exactly like a gourmet peanut butter cup, require minimal effort, and are always a total crowd-pleaser!
Why You’ll Love This Recipe
- No Baking Required: Keep your kitchen cool with a quick, fuss-free setup that relies entirely on the fridge to work its magic.
- Perfect Texture Balance: A rich, melt-in-your-mouth peanut butter dough paired with a solid chocolate snap on top, as showcased in image_531547.jpg.
- Simple Pantry Staples: Made with everyday household favorites like Jif and Hershey’s, so you can whip them up at a moment’s notice.
🛒 Ingredients
- 1 cup creamy Jif Peanut Butter
- ½ cup (1 stick) butter, melted
- 2 cups powdered sugar
- 1 cup Hershey’s Milk Chocolate Chips
👩🍳 Step-by-Step Instructions
Step 1: Prep Your Pan
Line an 8×8-inch square baking pan with parchment paper. Make sure to leave some overhang on the sides—this acts as a convenient handle to lift the bars out cleanly later!
Step 2: Mix the Peanut Butter Base
In a medium-sized mixing bowl, combine the 1 cup of creamy Jif peanut butter and the ½ cup of melted butter. Stir them together until the mixture is completely smooth and cohesive.
Step 3: Form the Thick Dough
Gradually fold the powdered sugar into the peanut butter mixture. Stir well after each addition until a thick, uniform dough forms.
Step 4: Press and Smooth
Transfer the peanut butter dough into your prepared 8×8 pan. Using a spatula or the back of a large spoon, press the mixture firmly and evenly into the corners, smoothing out the top surface to create a level base layer like the one seen in image_531547.jpg.
Step 5: Melt the Chocolate
Place your Hershey’s milk chocolate chips into a microwave-safe bowl. Microwave in 20-second intervals, making sure to stir thoroughly after each burst. Repeat until the chocolate is completely melted, silky, and smooth.
Step 6: Layer and Chill
Pour the rich, melted chocolate directly over the smooth peanut butter base. Use a spatula to spread it evenly all the way to the edges, creating that beautiful swirled finish shown in image_531547.jpg. Pop the pan into the refrigerator for 1 to 2 hours until the chocolate is fully set and the bars are nice and firm.
Step 7: Slice and Serve
Once set, use the parchment paper overhang to gently lift the entire block out of the pan and onto a cutting board. Cut into even squares and dive right in!
💡 Pro Tips for Perfect Bars
- Get Clean Cuts: To prevent the top chocolate layer from cracking when you slice it, let the chilled bars sit at room temperature for about 5 minutes before cutting with a sharp, warm knife.
- Easy Storage: Keep any leftovers stored in an airtight container in the refrigerator for up to 1 week (if they even last that long!).
💡 Quick Variations to Try
- Add Some Crunch: Swap out the creamy peanut butter for a crunchy variety, or fold in ½ cup of crushed graham crackers or crispy rice cereal into the base for an awesome texture upgrade.
- Sea Salt Finish: Sprinkle a pinch of flaky sea salt over the melted chocolate layer right before chilling to beautifully elevate the sweet and savory contrast.